
Solutions
From MDF to solid wood and PU foam, our finishing systems deliver precision, durability, and beauty. Choose by material, gloss level, or coating type, and discover the optimal solution for your production line.

Thank you! Your submission has been received!
Oops! Something went wrong while submitting the form.
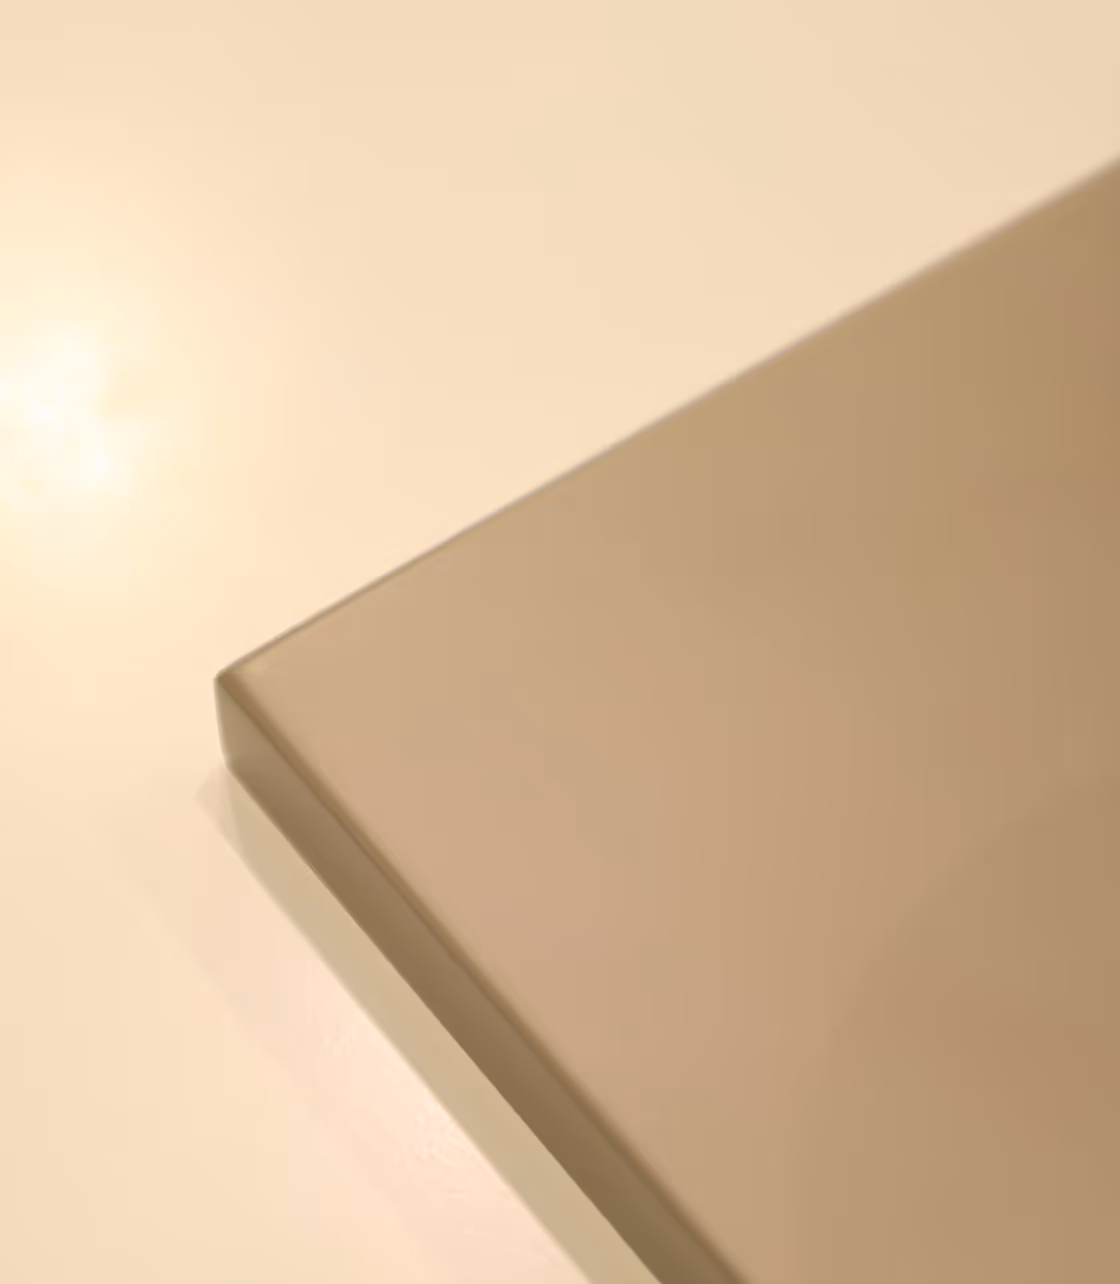
MDF
Pigmented
Matt
Standard

MDF pigmented finish
View Process Steps
MDF pigmented finish
Close
Pigmented
Matt
STEP
PRODUCT & NOTE
Initial Sanding
1
P150
The surface must be sanded and dust-free before applying.
Application of PU Insulating Primer
2
BP91.00.00
High viscosity, good leveling, high thixotropy, easy to sand
Primer Drying
3
Intermediate Sanding
4
P240
Prepares the surface for filler basecoat.
Application of PU Filling Basecoat
5
BP92.01.00
High viscosity, good hiding power, forms tick film, good leveling , high thixotropy, difficult to sand through
Basecoat Drying
6
Fast drying and easy sanding.
Finish Sanding
7
P320–P400
Ensures smooth surface before topcoat.
Application of PU Enamel
8
TP93.01.**
Good leveling, high hiding power (even on sandings through), uniform matte finish , smooth and silky to the touch, good chemical resistance, good protective properties
Final Drying
9
Cures the final finish.
10
11
12
13
14
MDF
Pigmented
Matt
Competitive
MDF pigmented finish
View Process Steps
MDF pigmented finish
Close
Pigmented
Matt
STEP
PRODUCT & NOTE
Initial Sanding
1
P150
The surface must be sanded and dust-free before applying.
Application of PU Filling Basecoat
2
GRP1033.00.0001
Quick-drying basecoat with excellent coverage and leveling. Belongs to economy class products.
Basecoat Drying
3
Intermediate Sanding
4
P240
Ensures proper adhesion and surface smoothness for the next layer.
Application of PU Filling Basecoat
5
GRP1033.00.0001
Second application of economy PU basecoat for improved build and leveling.
Basecoat Drying
6
The drying time depends on the conditions in the workshop.
Finish Sanding
7
P320–P400
Prepares the surface for the topcoat. Must be dust-free.
Application of PU Enamel
8
TP83.01.**
Good leveling, high hiding power (even on sanding through), uniform matte finish, smooth and silky to the touch, very white, good chemical resistance
Final Drying
9
Curing time varies based on the workshop environment.
10
11
12
13
14
MDF
Pigmented
Matt
Standard
MDF pigmented finish with patina
View Process Steps
MDF pigmented finish with patina
Close
Pigmented
Matt
STEP
PRODUCT & NOTE
Initial Sanding
1
P150
The surface must be sanded and dust-free before applying.
Application of PU Insulating Primer
2
GRP0001.00.0000
Increases MDF moisture resistance, improves adhesion, evens density, and reduces absorption of basecoats.
Primer Drying
3
Intermediate Sanding
4
P240
Prepares surface for the next coating layer. Dust-free finish required.
Application of PU Filling Basecoat
5
GRP1033.00.0001
Economy class basecoat with quick drying, good coverage and leveling.
Basecoat Drying
6
The drying time depends on the conditions in the workshop.
Finish Sanding
7
P320–P400
Ensures smooth base for topcoat. Dust-free.
Application of PU Enamel
8
TP93.01.**
Good leveling, high hiding power, uniform matte finish, smooth and silky to the touch, good chemical resistance, good protective properties
Enamel Drying
9
The drying time depends on the conditions in the workshop.
Application of Patina
10
PM01.50.00
Decorative effect layer for added depth and texture.
Patina Sanding
11
Sponge P220
Use double- or four-sided sponge. Must be clean and even.
Application of Acrylic Matte Topcoat
12
TA89.00.03
Good leveling, high tranparency, smooth and silky to the touch (skin effect)
Final Drying
13
The drying time depends on the conditions in the workshop.
14
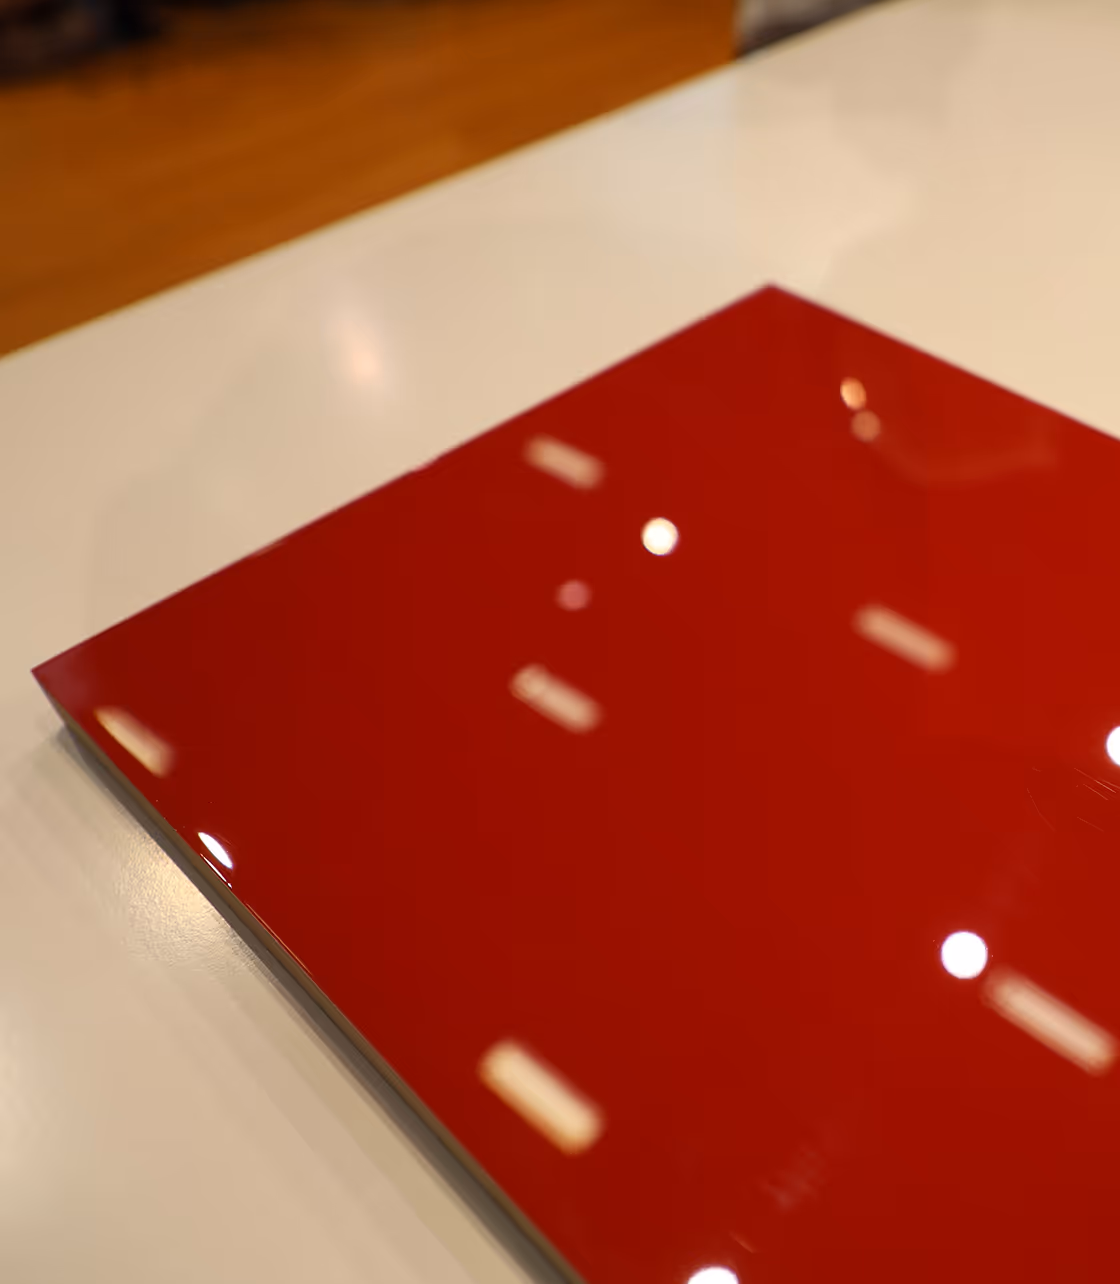
MDF
Pigmented
High Gloss
Standard
MDF pigmented finish
View Process Steps
MDF pigmented finish
Close
Pigmented
High Gloss
STEP
PRODUCT & NOTE
Initial Sanding
1
P150
The surface must be sanded and dust-free before applying.
Application of PU Insulating Primer
2
GRP0001.00.0000
Increases moisture resistance, creates uniform surface density, improves adhesion, and reduces absorption of basecoats.
Primer Drying
3
Intermediate Sanding
4
P240
The surface must be sanded and dust-free before applying.
Application of PE Filling Basecoat
5
PE91.01.00
Good leveling, holds well on the edges, excellent hiding power, fast drying, long pot-life (1,5 h), no defects at low temperatures
Basecoat Drying
6
The drying time depends on the conditions in the workshop.
Finish Sanding
7
P320–P400
The surface must be sanded and dust-free before applying.
Application of PU Enamel
8
TP93.01.**
Good leveling, high hiding power, uniform matte finish, smooth and silky to the touch, good chemical resistance, good protective properties
Enamel Drying
9
The drying time depends on the conditions in the workshop.
Application of Acrylic High Gloss Topcoat
10
LKA3066.99.0000
Good leveling and high gloss. Can be polished after 24 hours. High hardness.
Topcoat Drying
11
The drying time depends on the conditions in the workshop.
Polishing Preparation
12
P1500, P2000, P3000 (velvet pad with water)
Used to refine the surface prior to final polishing.
Polishing
13
Lamb Pad, Black Foam Pad
Final gloss achieved using soft and fine pads.
14
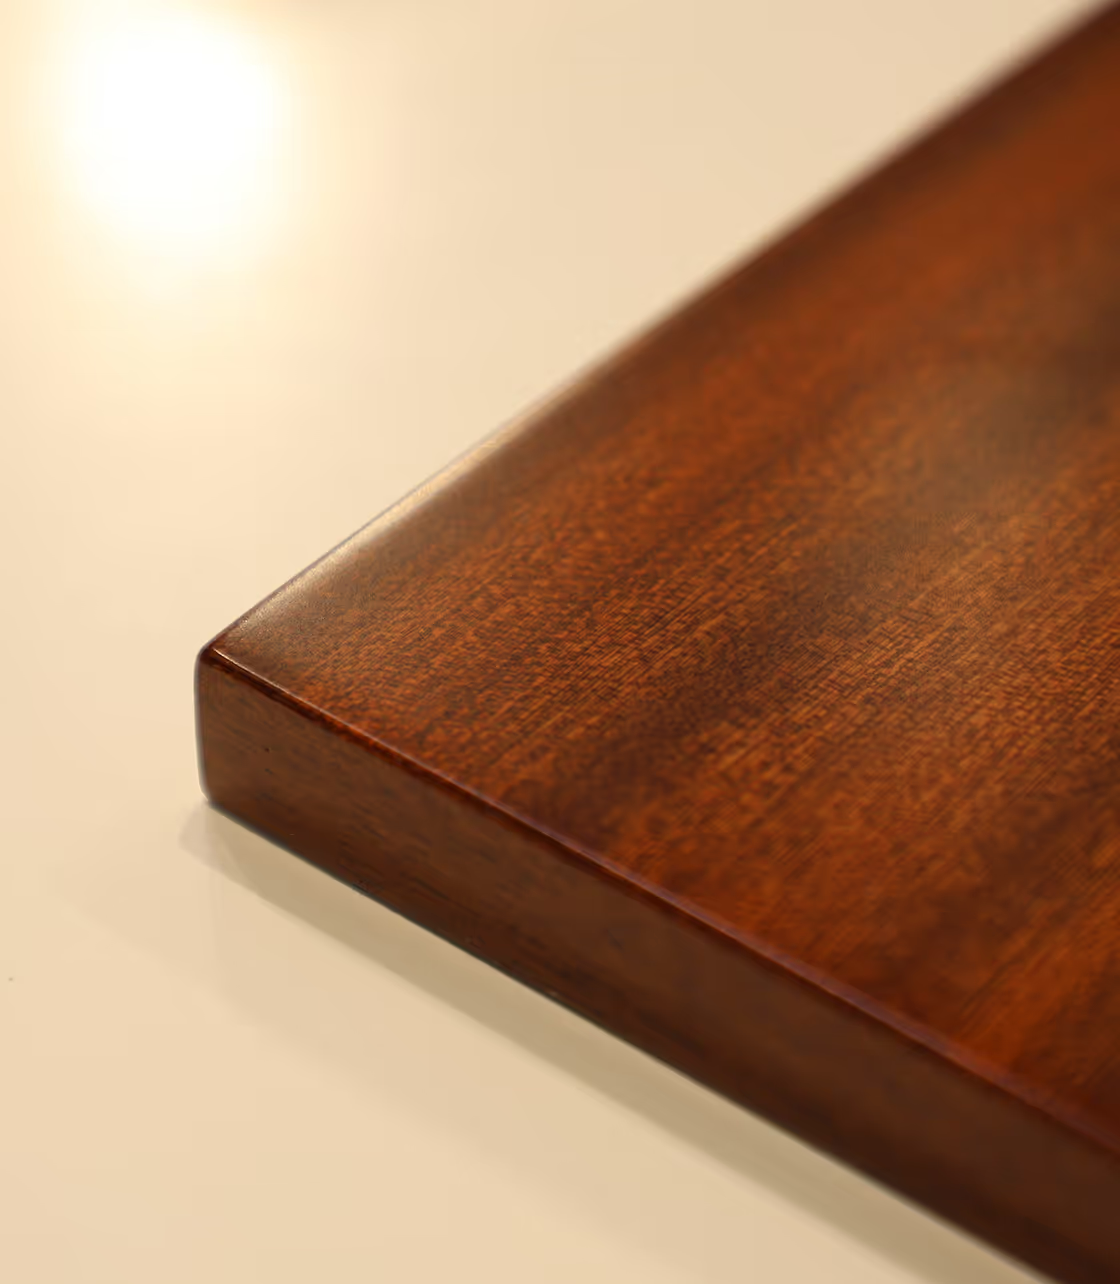
Solid Wood & Veneer
Transparent
High Gloss
Standard
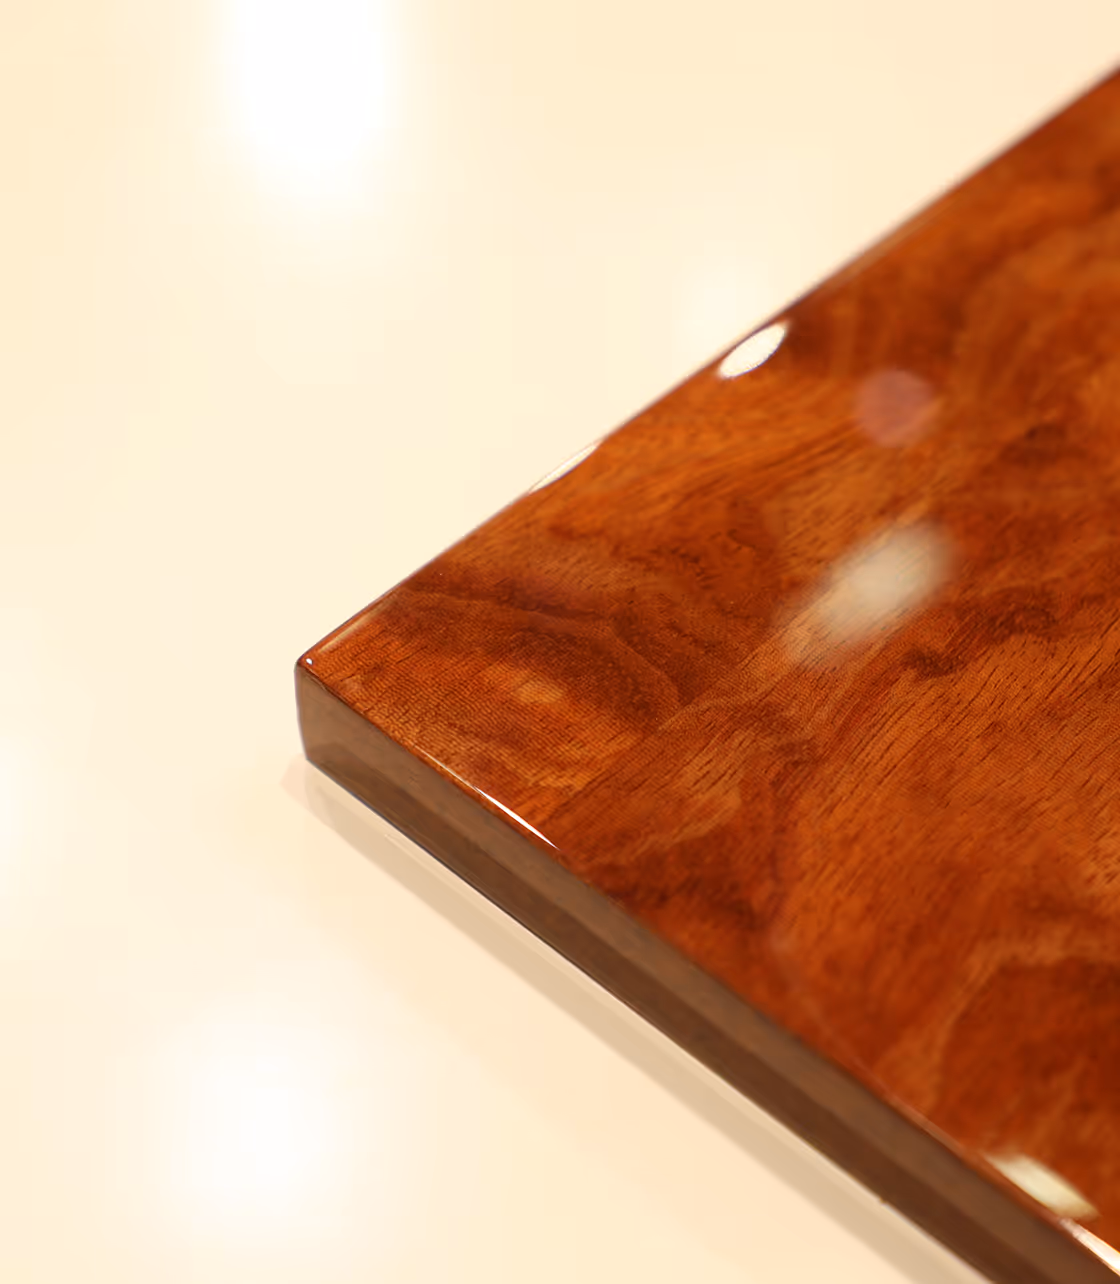
Veneer/Solid Wood transparent closed-pored finish
View Process Steps
Veneer/Solid Wood transparent closed-pored finish
Close
Transparent
High Gloss
STEP
PRODUCT & NOTE
Initial Sanding
1
P180–P240
The surface must be sanded and dust-free before applying.
Application of Barrier Primer
2
GRX0022.00.0000
Protects the dye or bare wood from the aggressive effects of PE basecoat. Expels air from wood pores, preventing defects in PE layers.
Primer Drying
3
Application of PE self-sealer
4
PE91.00.00
Good transparency, good leveling, high filling power, average thixotropy, long pot life (1,5-2 h), no pungent odor
Self-sealer Drying
5
Intermediate Sanding
6
P240, P320
The surface must be sanded and dust-free before applying.
Second Application of PE basecoat
7
PE91.00.00
Excellent filling, High hardness, Excellent transparency, Good anti-flowing and hanging, Excellent sanding
Final Drying
8
Polishing Preparation
9
P400, P600, P800, P1000, P1500, P2000, P3000 (velvet pad with water)
Used to refine the surface before polishing.
Polishing
10
Lamb Pad, Black Foam Pad
Final gloss achieved using soft and fine pads.
11
12
13
14
Solid Wood & Veneer
Transparent
Matt
Standard
Veneer/Solid Wood transparent closed-pored finish
View Process Steps
Veneer/Solid Wood transparent closed-pored finish
Close
Transparent
Matt
STEP
PRODUCT & NOTE
Initial Sanding
1
P180–P240
The surface must be sanded and dust-free before applying.
Application of Barrier Primer
2
GRX0022.00.0000
Protects the dye or wood from PE basecoat. Helps release air from wood pores and prevents entrapment in PE layers.
Primer Drying
3
Application of PE Basecoat
4
GRE1011.00.0000
Minimizes shrinkage, characterized by high solid content, excellent leveling, and hiding power. Minimal color change. Easily sanded.
Basecoat Drying
5
Intermediate Sanding
6
P240
The surface must be sanded and dust-free before applying.
Second Application of PE Basecoat
7
GRE1011.00.0000
Repeated to enhance build. Same advantages: low shrinkage, great leveling, minimal wood color shift.
Basecoat Drying
8
Final Sanding
9
P400
The surface must be sanded and dust-free before applying.
Application of Acrylic Matt Topcoat
10
TA99.00.03
Good leveling, excellent transparency, uniform deep matt surface, resistance to nailing
Topcoat Drying
11
The drying time depends on the conditions in the workshop.
12
13
14
Solid Wood & Veneer
Transparent
Matt
Standard
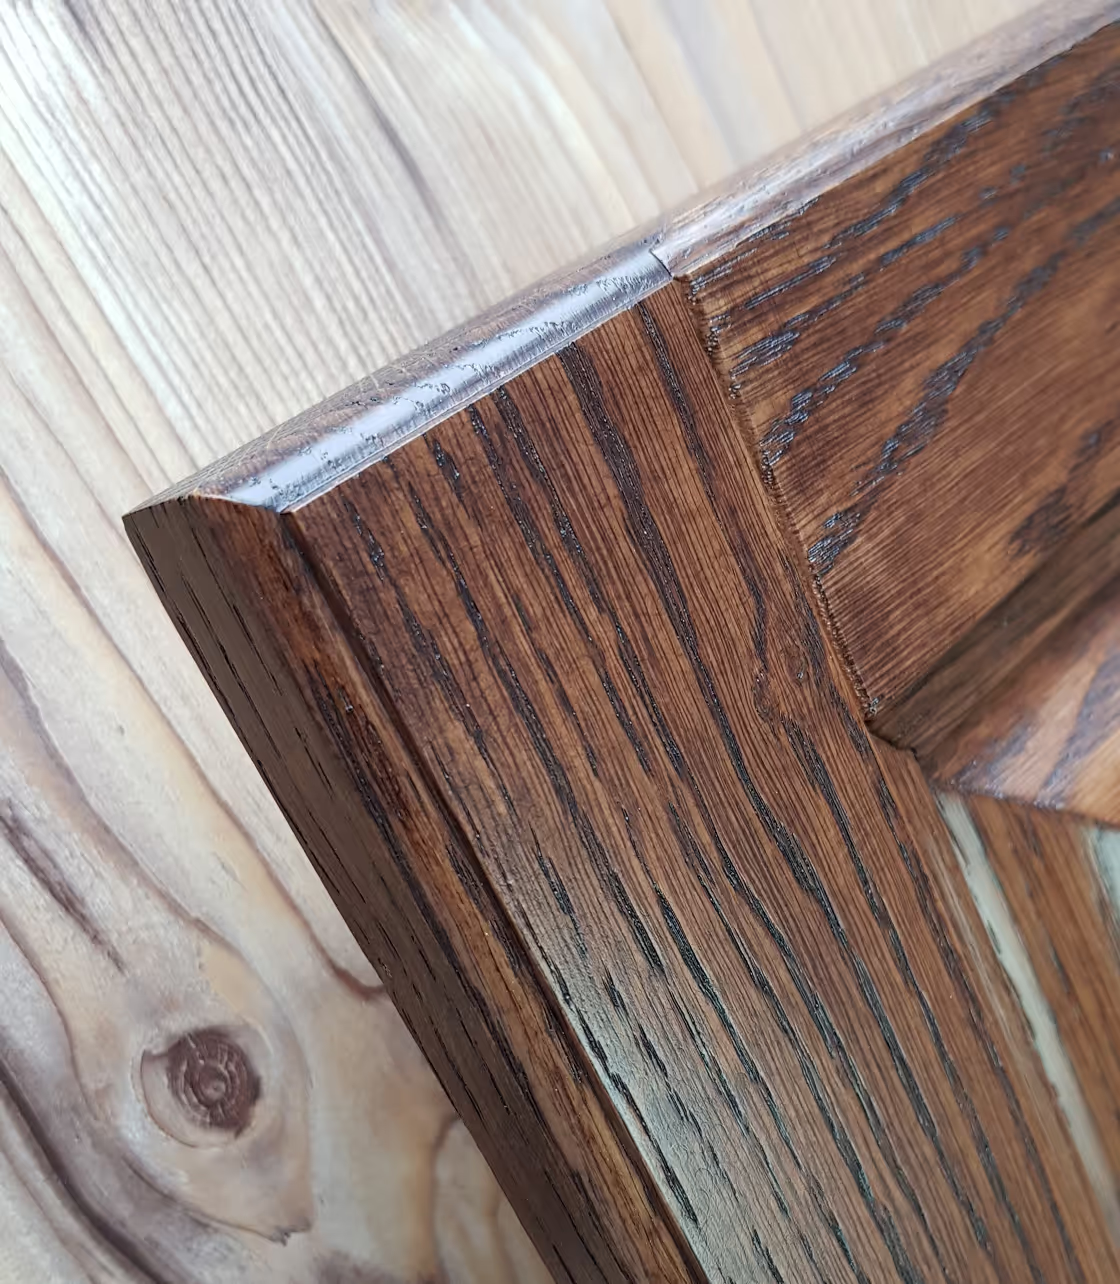
Veneer/Solid Wood transparent open-pored finish
View Process Steps
Veneer/Solid Wood transparent open-pored finish
Close
Transparent
Matt
STEP
PRODUCT & NOTE
Initial Sanding
1
P180
The surface must be sanded and dust-free before applying.
Application of Stain
2
MP40.40.00
Pigment-based stain with excellent light resistance. Evenly paints and harmonizes the wood surface.
Drying
3
Application of polyurethane basecoat
4
BP95.00.00
High transparency, good elasticity, good leveling, holds well on edges, suitable for open-pored
Drying
5
Intermediate Sanding
6
P220
The surface must be sanded and dust-free before applying.
Second Application of polyurethane topcoat
7
TP86.00.**
Good leveling, high thixotropy, fast drying, smooth and silky to touch, good chemical resistance
Final Drying
8
9
10
11
12
13
14
Solid Wood & Veneer
Pigmented
Matt
Standard
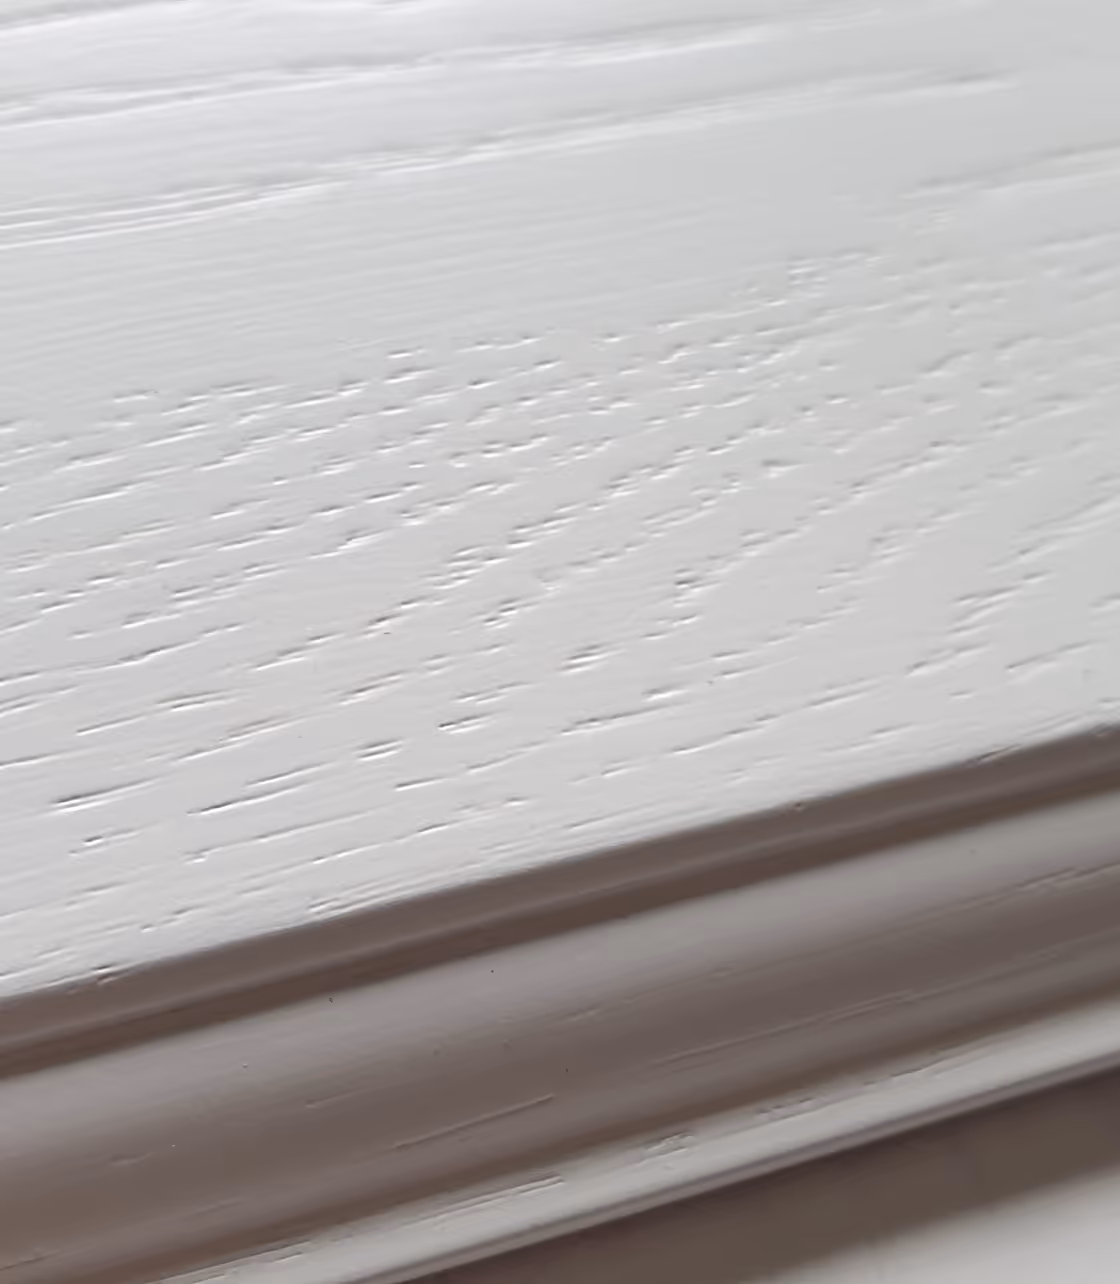
Veneer/Solid Wood pigmented open-pored finish
View Process Steps
Veneer/Solid Wood pigmented open-pored finish
Close
Pigmented
Matt
STEP
PRODUCT & NOTE
Initial Sanding
1
P180
The surface must be sanded and dust-free before applying.
Application of Pigmented PU Basecoat
2
GRP1033.00.0001
White PU basecoat with good leveling. Dries quickly. Suitable for open-pored systems.
Drying
3
Intermediate Sanding
4
P220
The surface must be sanded and dust-free before applying.
Application of PU Enamel
5
TP93.01.**
Good leveling, high hiding power, uniform matte finish, smooth and silky to the touch, good chemical resistance, good protective properties
Final Drying
6
The drying time depends on the conditions in the workshop.
7
8
9
10
11
12
13
14
Plastic & Others
Pigmented
Matt
Standard

Pigmented finish for PU foam
View Process Steps
Pigmented finish for PU foam
Close
Pigmented
Matt
STEP
PRODUCT & NOTE
Surface Filling
1
Polyester Putty
Filling of surface defects.
Local Sanding
2
P180
Local sanding of surface defects.
Application of Adhesive Primer
3
GRP1033.00.0002
Excellent leveling, fills defects, provides high adhesion.
Drying
4
Intermediate Sanding
5
P320
The surface must be sanded and dust-free before applying.
Second Primer Application
6
GRP1033.00.0002
Repeated for optimal surface leveling and adhesion.
Drying
7
Application of Patina
8
MP40.40.00
High light resistance. Dries quickly. Easy to remove.
Removing Patina
9
Sanding Foam
Removes excess patina to achieve desired effect.
Application of Acrylic Topcoat
10
LKA3053.XX.0000
Highly transparent varnish with uniform gloss. Spreads perfectly.
11
12
13
14

